
Outdoor theater build 09/03/15
-Jump to projector section
-Jump to sound section
-Jump to screen section
-Jump to setup section
I got this idea from a television commercial. I saw it and thought, that looks like fun. In addition, the weather starts to turn really nice in Florida in late October, so the timing was perfect.
In order to pass the wife test, I had to keep the costs to a minimum. Fortunately, I have quite a bit of junk laying around and a desire to rectify the situation. Here's how I did it.
Projector
09/03/15
You need a few things to pull this off. Most of them are obvious. First is the projector. Some people absolutely have to have High Def for their viewing, but personally I think if you need an HD image on the side of your house or a giant bed sheet, you're doing it wrong. Using the reverse argument, you probably want to at least be able to read subtitles. Unless of course you remember your Klingon. If you have to go the HD route, then good projectors start at $500 or so. I wanted to keep my budget lower than this so I did some research, read some reviews and settled on this $300 projector. It had good reviews, enough lumens (It seems about 2000 is the min) and was in my price range.

Some things to note. Most of these projectors include sound, but it's minimal sound that probably won't work well for an outdoor event. Some of the reviews I read said that the speaker in the unit rattled and that when they plugged in external speakers, the one in the unit kept rattling. You might want to avoid ones that do this. The projector above is only SVGA, but with a picture about 10 feet wide and 9 feet tall it looked fantastic in my living room and reading text the size of subtitles was easy. It's true that if you get close to the image it was composed of pea sized pixels, but who watches at that distance? You're probably going to sit 15 or 20 feet back, where it looks stunning. I should note at this point I have not hosted an outdoor movie, so I'll have to update my opinions as things progress.
Sound
09/04/15
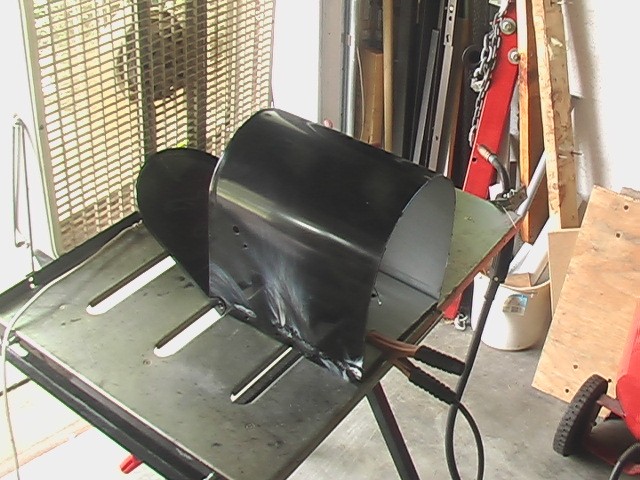
As long as we're talking about sound. That was the second thing I worked on, not because it was next most important, but because it was part of what I had laying around. From a donor car I used to scavenge for a V6 motor for my Corolla (see www.ozone2000.com) I had a couple of 5 1/2" speakers. I also had a car amplifier that, assuming works, would be perfect for the sound system. All I needed was a 12V supply, which I had on my workbench (because I work on cars a lot) and some boxes to put the speakers in. Most people would use MDF (basically press board) to make some speaker boxes and there are numerous tutorials online. I on the other hand always turn to metal. So after a brief search online I found a volume for the speakers and came up with some measurements. As it turns out, I thought I could spare myself some of the work by buying a large mail box and cutting it in half. That's what I did, but I'm not sure I saved myself any work, since speakers need to be sealed, which meant welding all the seams. Mailboxes are cheap, which means the metal is thin and I suck at welding thin sheet metal. But that's the route I took so here are some pictures. Oh and the mailbox was $26.00 at Home Depot.

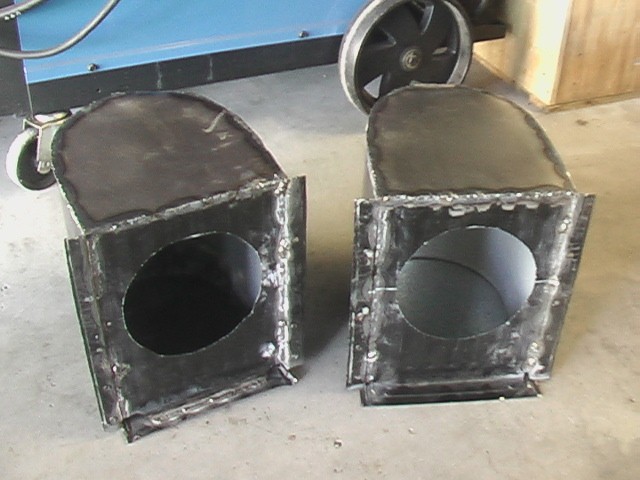
The speaker is on the front, as you can see. I started by cutting the mailbox in half.
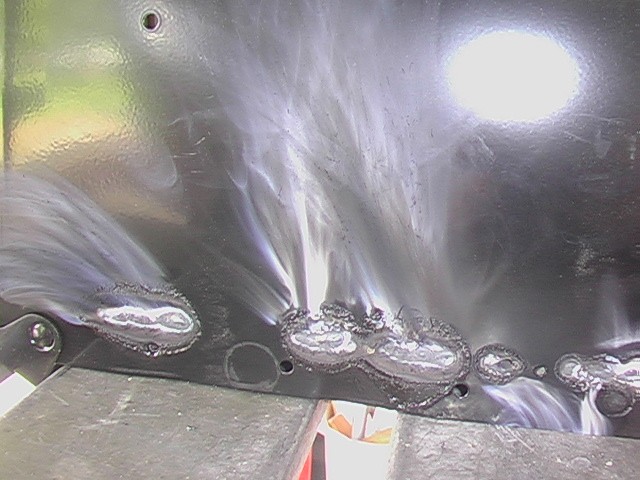
I welded all of the seams and blew a bunch of holes through it that I annoyingly had to repair, but the heat left pretty cool marks on the paint as it burned away.
I welded some ends on the speaker boxes to complete the enclosure. I also opted for a tweeter because I thought the 5 1/2" speakers might be a bit muddled at the higher frequencies. Adding a second speaker meant that a crossover was needed. A crossover is a circuit that keeps the low frequencies from getting to the high frequency speaker and vice versa. Without it the speakers wouldn't last more than a few minutes, I imagine. So I bought this pair of speakers on Amazon. The car speakers were 2 ohms and the tweeters were 4 ohms. Crossovers want to see the same impedance on both paths so, I bought a second set of tweeters and put them in parallel so that they would present an impedance of 2 ohms to the crossover. Like this.
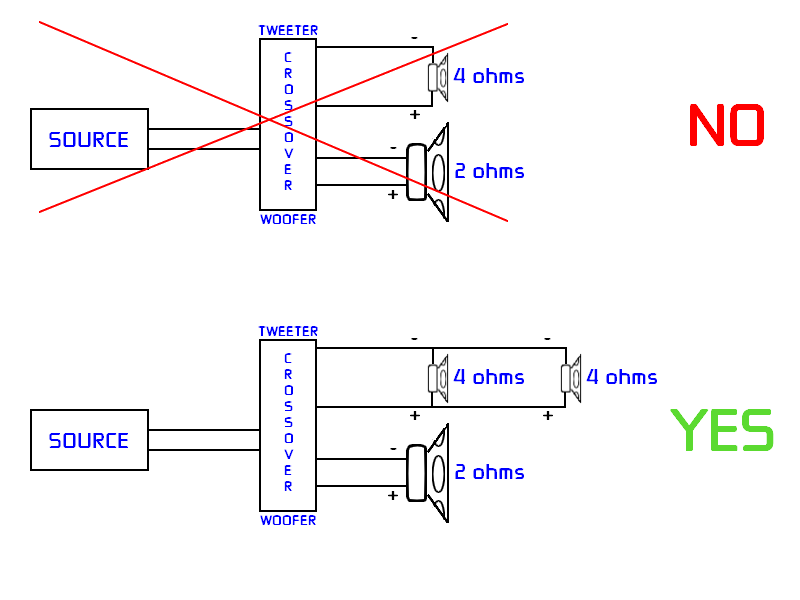
Of course, you could always use two 4 ohm speakers, which would be normal, but like I said, I wanted to use up some junk I had. Here are the tweeters I bought. They were cheap at $11.00 a pair and they had pretty good reviews.

At this point, I still don't know how they sound. They do seem like good quality and they came with some accessories, like a crossover and alternate mounting parts. I didn't use the included crossover. Instead I had a buddy who wanted to dispose of a couple of crossovers he had accumulating dust in his house. Free parts, yea! Of course, there is an easier way. I found a system similar to this one, used on craigslist for just $50.00. It's plug and play and would give you surround sound and would only cost having to set it up in your yard.

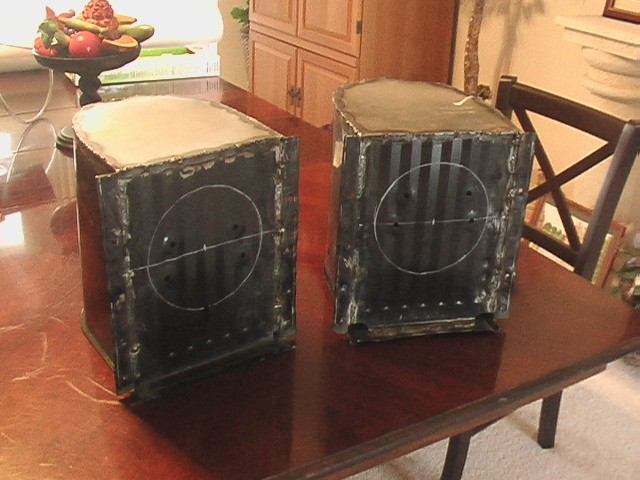
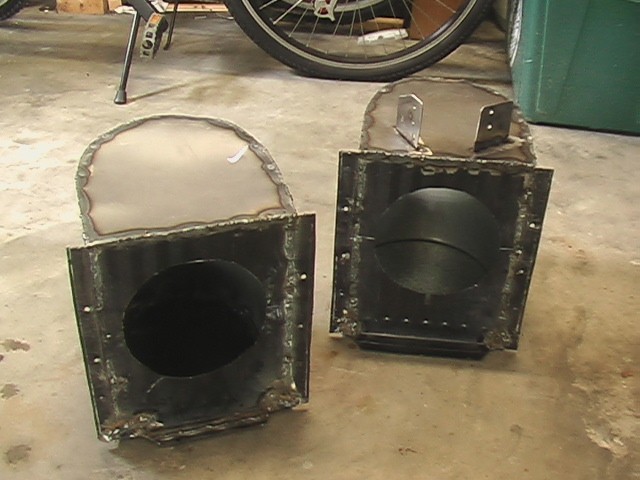
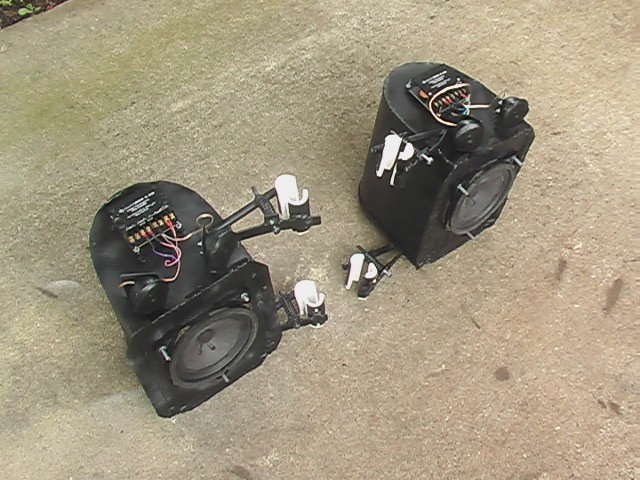
Here are the speakers marked for their holes. They aren't real pretty, but I'll clean them up before I'm done. The beauty of making your own stuff is that you can make it the way you want to. I plan to attach these to the sides of the screen. All I have to do is weld on some tabs of some kind to secure them. Buying a complete system would no doubt be more polished, but would cost a whole lot more.
One important note, if you have the ability to weld, is don't even try to make speaker boxes out of metal without having some kind of dampening material. A metal box rings like a bell and will make all kinds of horrible sounds if you mount speakers in them. I have some CLD tiles I can use to deaden the enclosures. There a numerous products you can use and if you were only doing a couple of speakers, you could probably go to a place that installs car stereos or modifies cars and they would probably give or sell you some. The stuff is very expensive, but you only need a little bit to do the job. There are all different kinds. Dynamat is a common one. Here is the stuff I use.
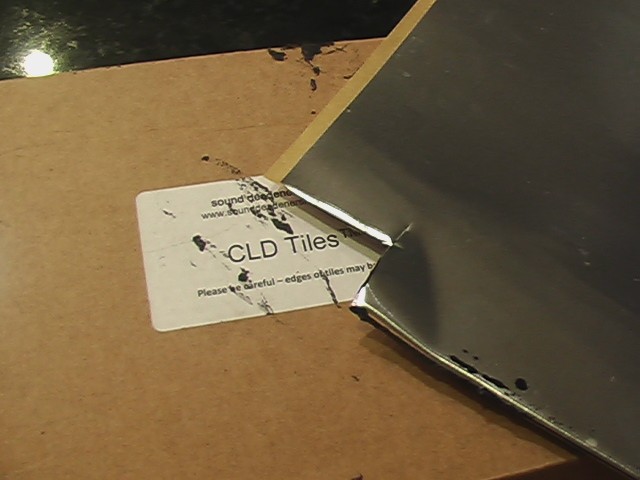
The material is just a thick aluminum foil with a thick, sticky, gooey backing and it works great.
Below you can see the speakers with the speaker holes cut in them.
Next I made some plates to bolt the tweeters to. Since there are two of them on each speaker box, I angled them a little differently to improve the sound. Tweeters are directional. I made the plates thicker than necessary to keep them from vibrating.
Here's a shot with one of the speakers installed.
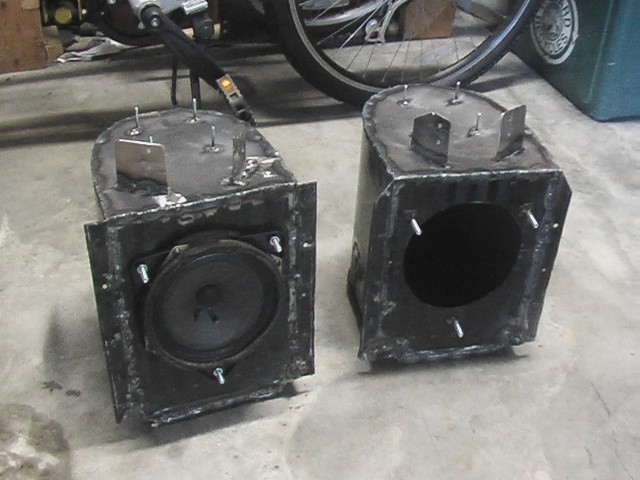
At this point I needed a method to attach the speakers to the frame of the screen. After that, I just needed to clean them up and paint them.
09/07/15
This seems overly complicated, but my wife insisted that the speaker clamp on the outside of the screen and pole so that the pocket in the screen didn't have to slip over some (much simpler) attachment.
My concept.
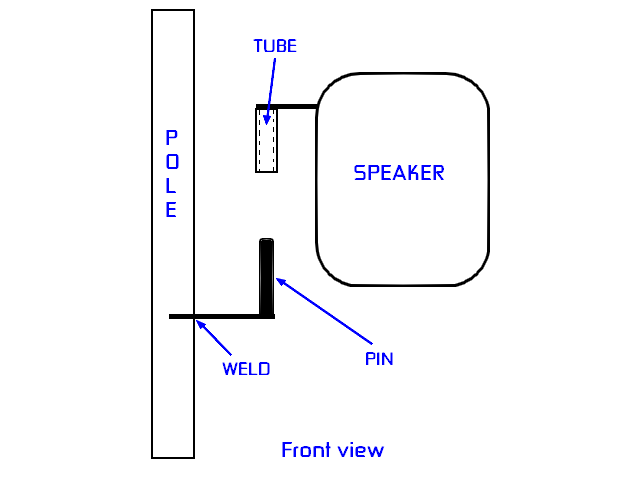
Her concept.
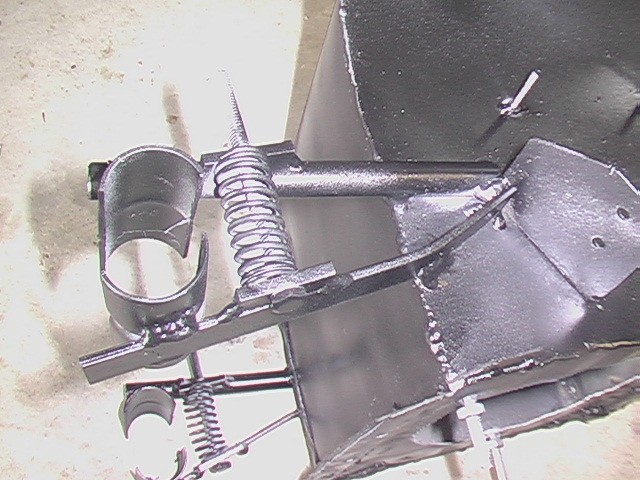
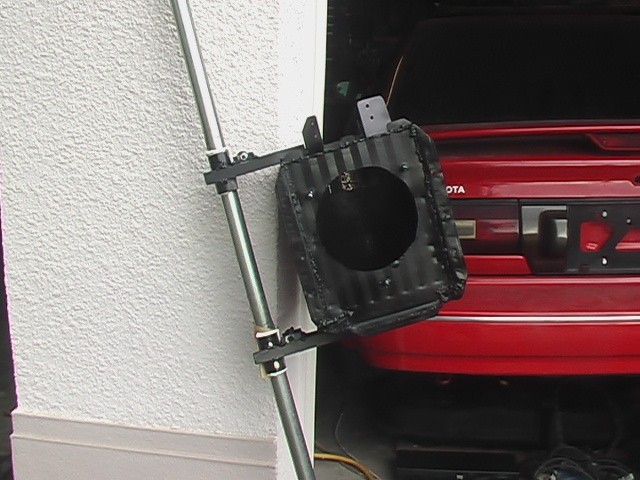
Her idea works fine, but it was a lot more work and functionally, it's more difficult to use. I had hoped that the steal would be springy enough to open up on its own when I loosened the tightening screw, but I think the heat from welding it to the speaker box affected it. When I want to open it up to take it off of the pole, I have to pull it apart, even with the spring on it. Here is a picture of it clamped to the pole.
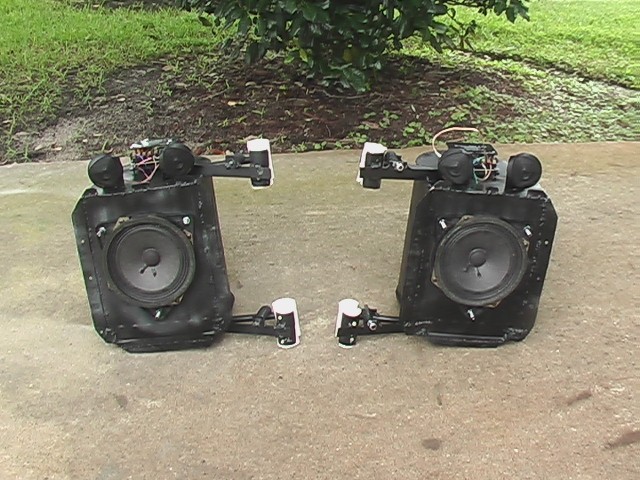
And here they are virtually finished.
Screen
09/05/15
The screen is probably the most difficult part to handle. The whole point of an outdoor theater is a big image, so they are naturally unwieldy. Of course, you could perhaps use the side of your house or barn or something, which would make things easier. I don't have a slab smooth enough to use for such a purpose, plus I want mine to be portable. Because this is low budget, I planned to use just a tarp, but the best budget image seems to result from using blackout drapery liners. A company called RocLon makes the stuff and you can even get it in widths of 113". Well, I think you can get it. Their website shows it's available, but not where to buy it. I did a search on Amazon and found what I thought was it but wound up accidentally purchasing a drapery liner that wasn't "blackout". I thought about trying again, but instead just went to Joann's fabric and bought it in the 54" width. The reason you want a wider fabric is to maximize the uninterrupted surface of the screen. The 54" wide fabric will require sewing to get the height I want. This means there will be a visible seam in the middle of the screen. Online, people seem to think that a seam is easy to ignore after a few minutes, so I decided to put that idea to the test. Here is the material I finally wound up using.

Here's another alternative that is pretty cost effective.

I didn't want to spend too much on the screen, but I should mention that even doing it myself I spent about $90.00. I used a design similar to this.

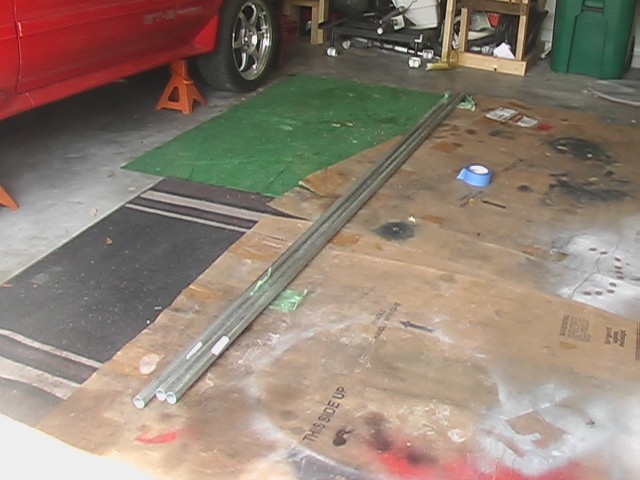
I bought six 10', 1" diameter steel pipes used for conduit (EMT). Because I wanted it to fit in the trunk of my wife's car, I needed them to be no longer than 5' long. The poles were about $6 each and I had to get them home somehow. They wouldn't cut them at the store for me. They actually sold 5' long poles but they were virtually the same price and since it was about a budget build, we put the back seats down, crammed those poles down the center of the car and padded the open trunk with a towel as we drove home in the pouring rain. Funny story, the rain water, over time gathered in the end of the tubes that were outside and slowly made it's way out of the end of the tube that was inside the car, like a little aquaduct. It was raining very hard. Anyway, it was not that much water and when I got around to working on it, here's what I did.
The poles.
They make some couplers for these tubes but they are bulky and expensive. One coupler was about $6.00. These straight couplers were only $0.68 and I have a welder, so . . . .
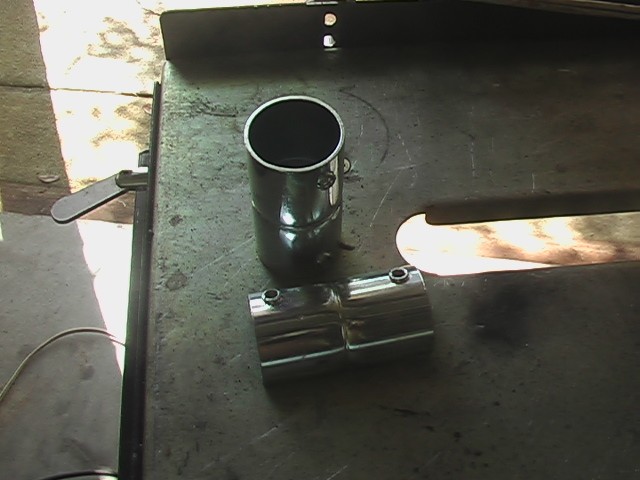
They go together like this.
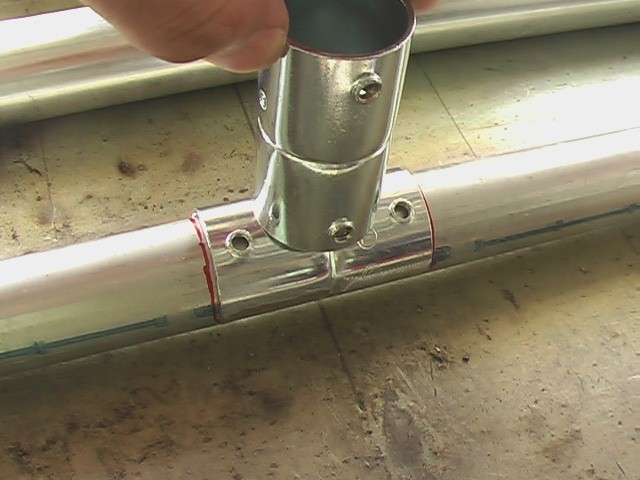
I cut the poles.
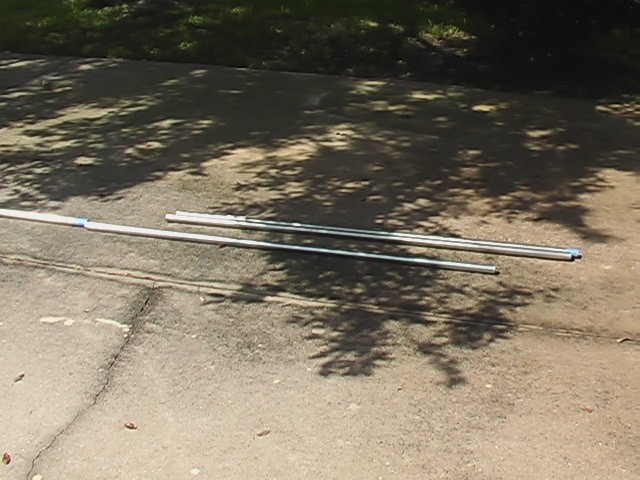
And in no time I had this.
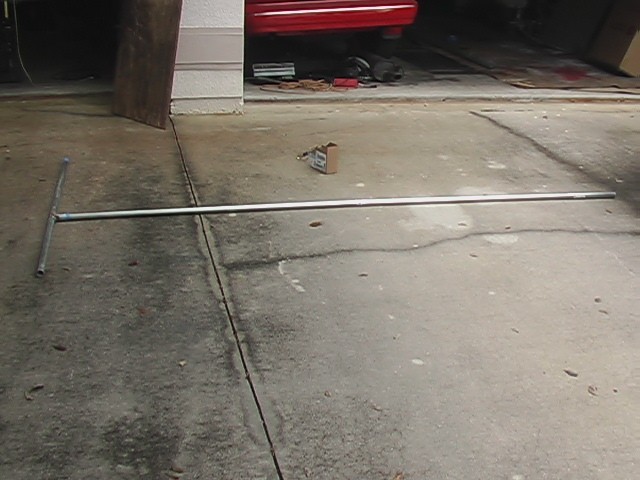
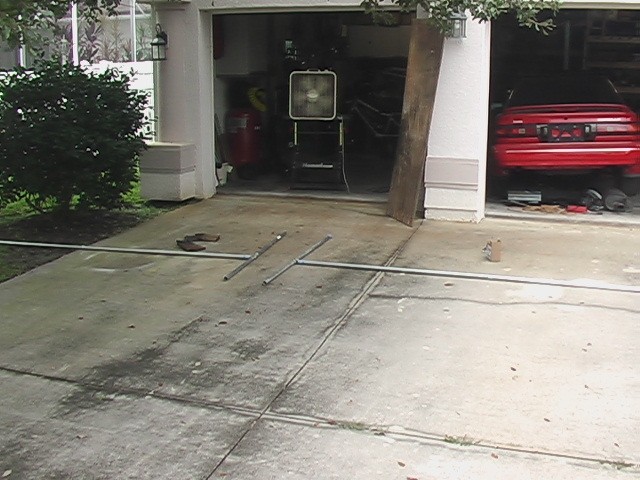
09/20/15
The frame needed corners at the top and once again it was easier to just make them out of the $0.68 couplers and my welder.

Setup
09/05/15
Next I worked on a method to support all of the equipment while I contemplated the design of the screen. I opted to mount everything on a fairly sturdy tripod I already owned. With the weight of the power supply, the amplifier and the projector, the tripod had to be sturdy. I wanted everything to be neat, so I used an old deep cookie sheet from my scrap bin, welded on some hooks that just slide on the tripod legs. This functions as a shelf for the power supply. I then made four standoffs and hung the car amplifier from the bottom of the pan. Like this.
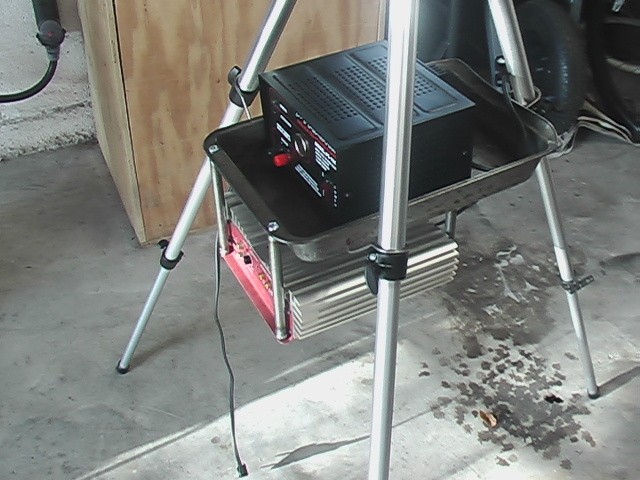
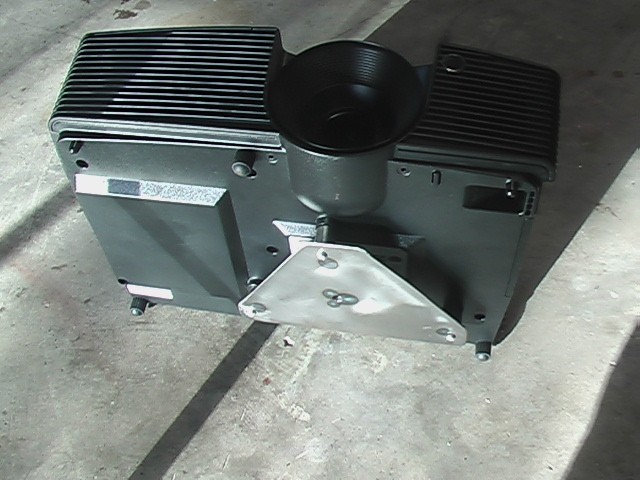
The projector didn't offer any way to attach it to the tripod, so I made a little adapter plate with a clearance hole for a 1/4" - 20 screw. There were three little deep threaded mounting points on the bottom of the projector. They are probably for some kind of ceiling mount, but they were on the bottom so I used them for the adapter plate, which looks like this.
More to come. . .
Thanks for viewing.